In this article, I’ll share with you what’s so special about Hierve el Agua, what to do, how to visit, and our vanlife tips for Hierve el Agua.
If you like natural sights, hiking, or the remote outdoors, the impressively beautiful and special Hierve el Agua is a must-see!
Table of Contents
What is Hierve el Agua?
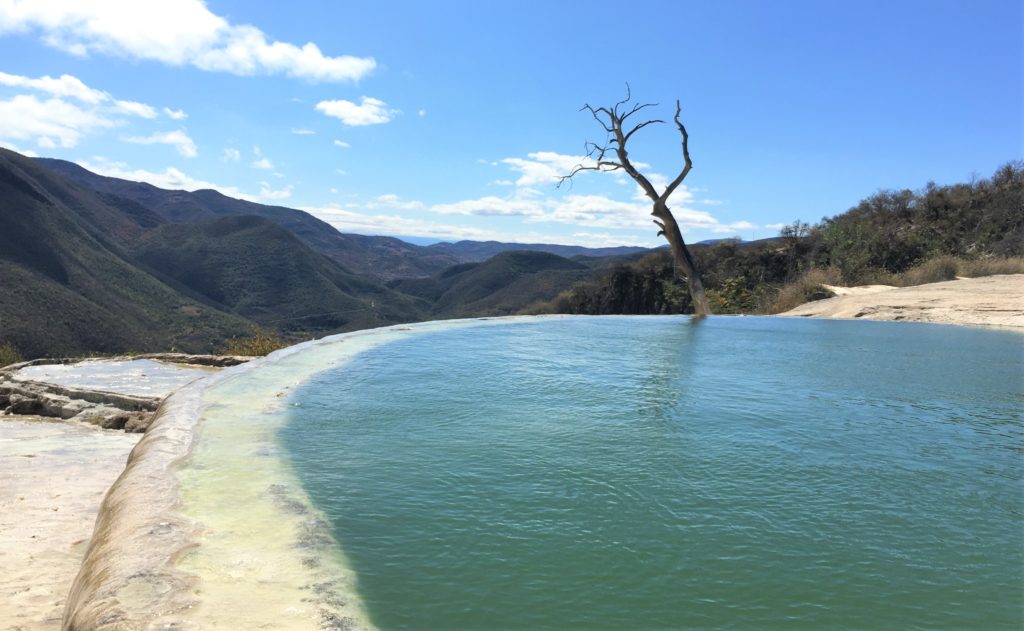
Hierve el Agua is a unique site of petrified rock waterfalls and swimmable infinity pools of spring-fed mineral water.
The Petrified Waterfalls
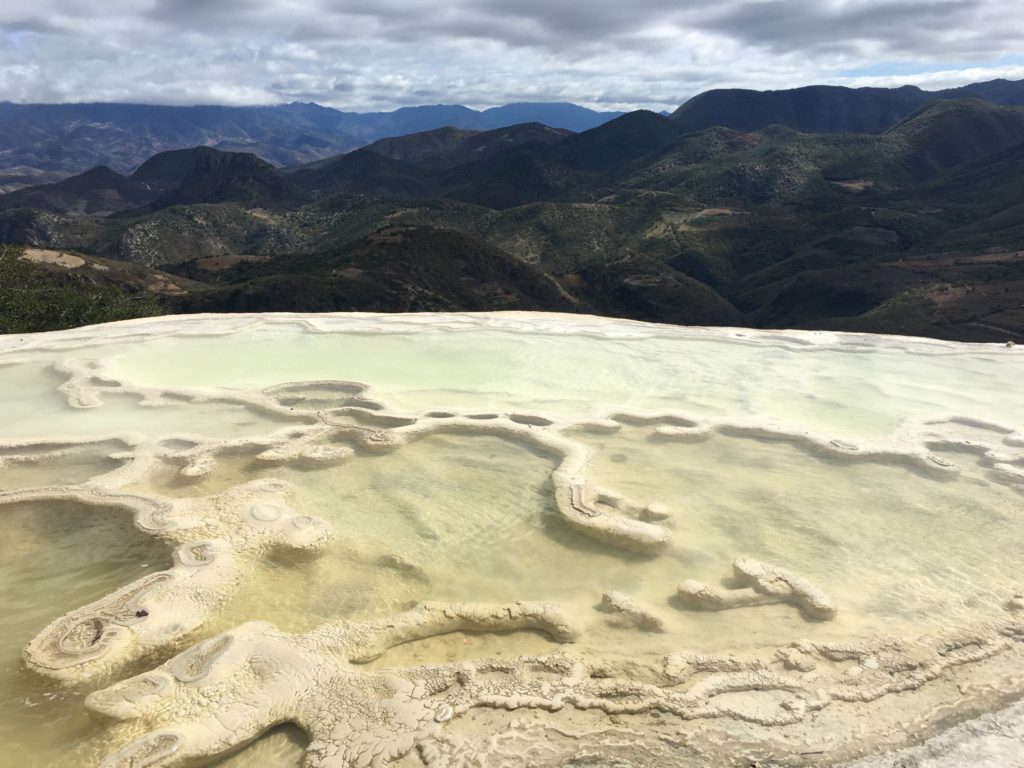
There are two large “waterfalls” and several little ones in the distance. These petrified rock structures have formed over time, as water with extremely high mineral content flows down the cliffsides from a series of small, natural springs. As the water evaporates, it leaves behind mineral deposits that have gradually taken the shape of cascading water.
The amount of water flow has decreased over the ages, but these petrified rock waterfalls are still growing at a snail’s pace.
There are only two petrified waterfalls known in the world – one is Hierve el Agua, and the other one is in Turkey. That’s pretty remarkable; bet you didn’t expect to encounter something so totally rare in this part of the world, did you?
The Pools
Hierve el Agua literally translates to “boiling water,” but do not expect to find hot, or even warm, water here. As water from local springs gets pushed up from the bottom of the pool, it creates only the appearance of bubbling, boiling water. Hence the name “hierve el agua.”
There are two large, swimmable pools and several smaller pools with more bubbling activity that are for viewing only.
The Mountains.
In most of the reviews and articles about Hierve el Agua, you only hear of the waterfalls and the pools. What has been wildly underrated are the views! Such gorgeous views of the valleys and mountains, from what feels like the top of the world.
Pick a perch and enjoy the bountiful beauty made by nature and man: symmetrical maguey fields, bleating goat farms, colorful wildflowers, and thin dirt roads cut through the mountains.
While the official rules say no outside food or drink, you’ll see that few visitors obey. If picnicking isn’t your thing, there are many vendor stalls selling food and drink. The ones on your right (as you enter) have great views from their “backyard.”
What to do at Hierve el Agua
So, what can you do at Hierve el Agua? I recommend setting aside at least 2-4 hours to swim and hike at Hierve el Agua.
Swim.
What do tourists do when they are presented with a large pool of cool water? They swim!
If you can handle the chilly water, these perfectly placed infinity pools are excellent photo opportunities. From the edges, you can soak in (get it?!) the great expanse of green valleys and mountains.
As is often the case, these pools were reinforced through artificial construction many years ago. But don’t let that take away from your enjoyment, because nature has won out over time. Years of mineral deposits have grown over any trace of the man-made construction.
They do recommend that you keep your head and eyes out of the water, and please not to get in with sunscreen.
We visited in late December, so the water was frigid to little ol’ SoCal me, but Jon got in just long enough for an obligatory photo.
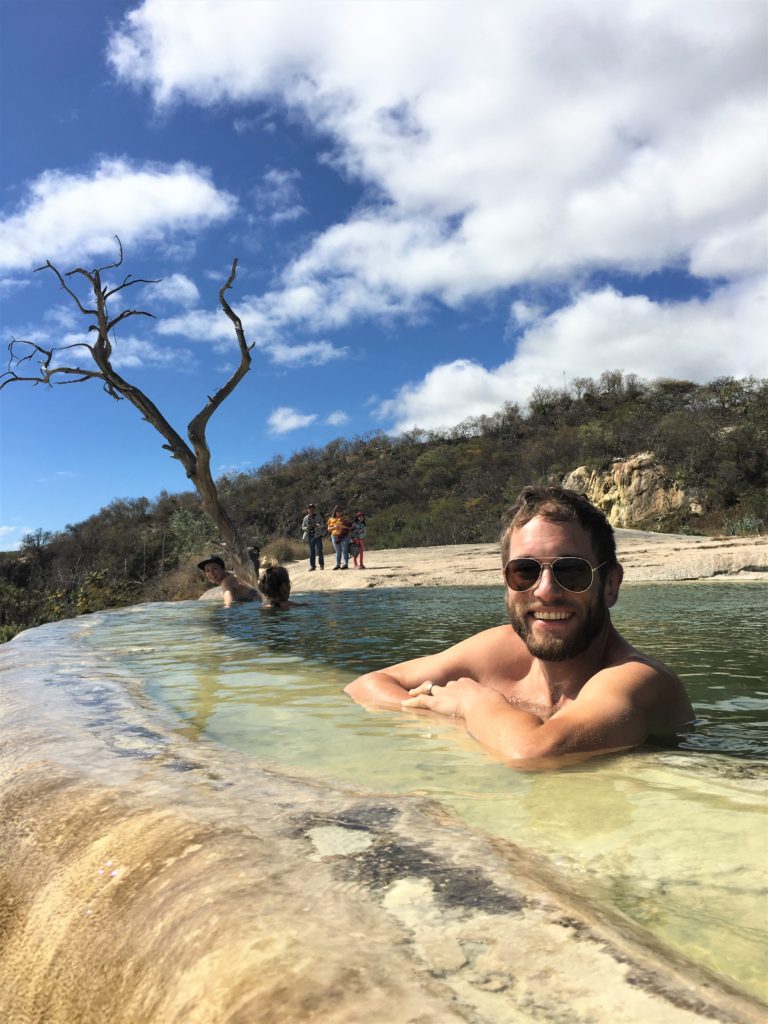
Jon, “chillin'” (literally) inside pool #1.
Hike.
There is a loop trail that goes down and around Cascada Chica, the “small cascade,” and Cascada Grande, the “large cascade.” There are plenty of excellent viewpoints along the way, and some parts of the trail open up to let you explore the base of the waterfalls.
The trail starts from behind the first pool and spits you back out at the entrance ramp on the other side. If you’re quick, you could do the hike in an hour. We probably spent 2 ½ hours, because we were both suffering from a cold, and we stopped for a lot of pictures.
If you’re short on time, you can turn back after the base of Cascada Grande. From here the trail gradually becomes wild, rocky, and less maintained. Hiking or walking shoes are recommended.
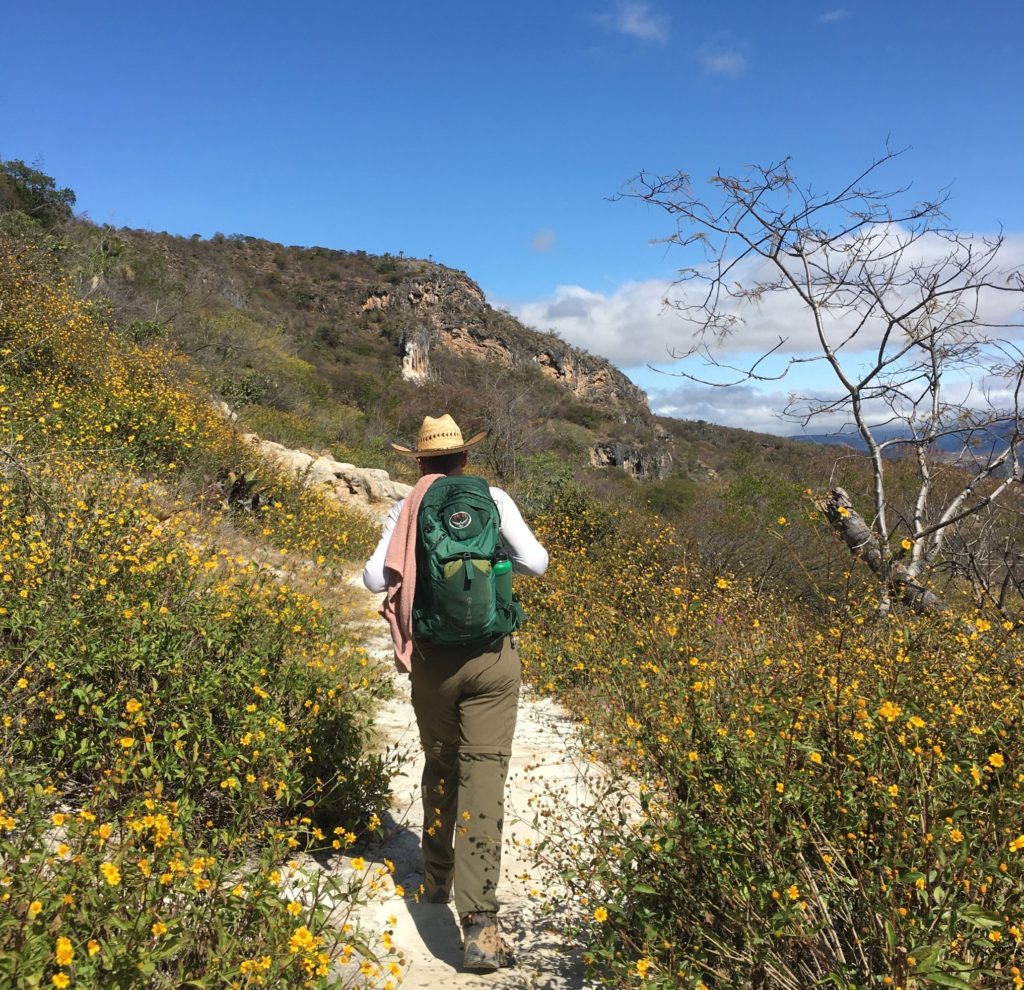
Hierve el Agua: The Layout
Hierve el Agua is pretty easy to figure out, but if you like the details…
As you head down the ramp, you will arrive on top of Cascada Chica, the small cascade. That’s a funny name for it because it is still massive; it’s just wider and shorter compared to Cascada Grande, the big cascade.
On top of Cascada Chica are the two pools that allow swimming. This is where most people linger, and it’s an amazing view of the valley, mountains, and Cascada Grande in the distance.
To get to Cascada Grande, take the trail that starts behind the first pool. Once you reach a little pool in the ground, you’ll be on top of Cascada Grande. Take a moment to enjoy another excellent view of the valley floor.
Many people seem to stop here, but to get a full perspective of both cascades, I recommend continuing on the trail. Down a steep set of stairs, you will reach the base of Cascada Grande.
What a special sight!
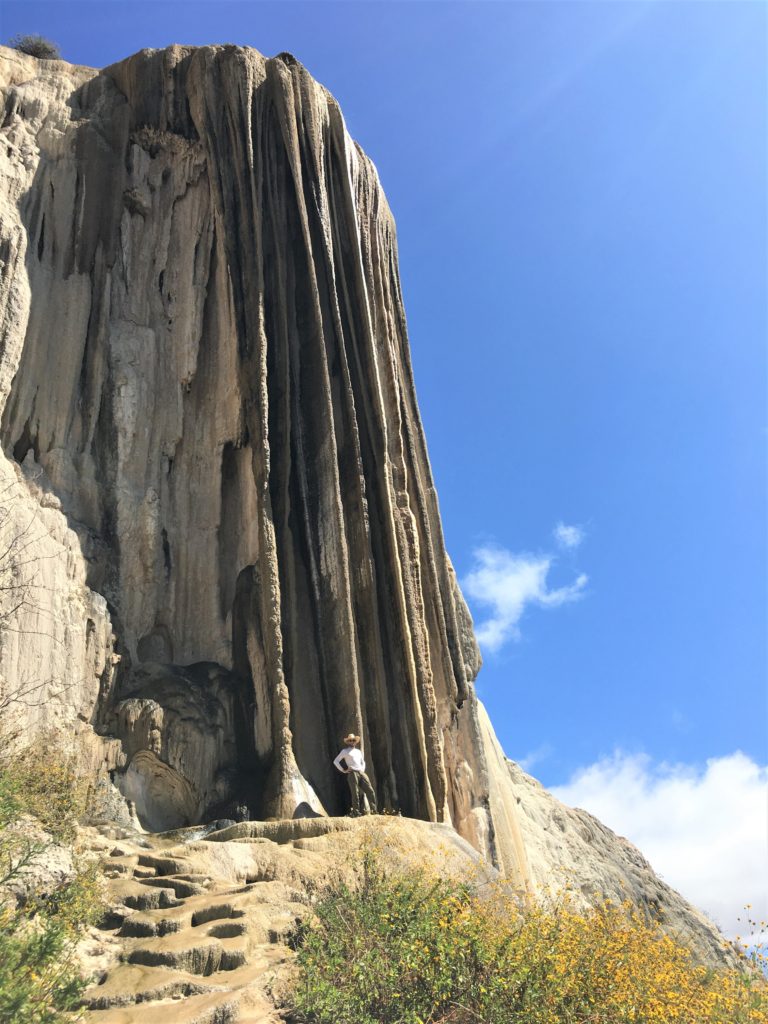
Further along the trail, you will reach the bottom of Cascada Chica, where you can boulder around the base to your heart’s content. Just watch out for the bushes with incredibly spiky spines.
At this point, you’re probably halfway through the trail, so you may as well continue. The trail gets rockier from here.
How Much Does It Cost?
As of December 2019, this is what you can expect to pay, depending on how you arrive and what you want to do:
- Toll road from Oaxaca City = 31 pesos for an automobile
- Road access fee to Hierve el Agua = 10 pesos per person
- Entrance fee for Hierve el Agua = 25 pesos per person
- Parking for an SUV or van = 150 pesos
- Parking for a taxi = 50 pesos
- Cabana Rental = 200 pesos per person
- Camping fee per person = 50 pesos per person (in addition to the parking fee)
How to Get to Hierve el Agua
There are four ways to get to Hierve el Agua:
- Driving yourself
- Hiring someone to take you privately
- Taking a group tour
- Taking public transportation
Driving Yourself
You can drive to Hierve el Agua, either in your vehicle or in a rental car.
The advantages to driving yourself:
- You have the maximum flexibility to get there early, before the hordes of tourists.
- You can stay as long as you want, even overnight! (See the vanlife section below)
- You can plan a multi-stop or even multi-day trip to explore all the sights along the eastern highway, such as Mitla, El Tule, mezcal distilleries, the Tlacolula Sunday Market, and more.
The disadvantages to driving yourself:
- It may be more expensive to rent a car, pay for gas, and pay the toll fees (unless, perhaps, you have a large group).
- You have to drive. The highway from Oaxaca City is nicely paved and easy, but the last stretch is mostly bumpy dirt road. The bumpy road is unavoidable, but it does make a difference when you are driver compared to passenger.
Hiring a Private Driver
You can hire a taxi from Oaxaca City for ~600 MXN, one-way.
(We also met some folks who started with public transportation – taking the colectivo from Oaxaca to Mitla – when their driver offered to take them all the way to Hierve el Agua for 500 MXN total.)
The advantages of a private driver:
- You have the maximum flexibility to get there early, before the hordes of tourists.
- You can stay as long as you want at Hierve el Agua.
- You can avoid driving yourself (though the tolls and fees are still your responsibility).
The disadvantages of a private driver:
- It’s more expensive for the personalized chauffeur service (unless, perhaps, you have a large group).
Taking a Group Tour
There are dozens of tour options from Oaxaca City. Tours can be site-specific (i.e. Hierve el Agua only) or multi-site (up to 5 different places!), and they can vary greatly in the size of the group and the cost of the tour. These are all factors to consider.
Interested? Take a walk in the zócalo or on Calle Macedonio Alcalá; you’ll see many young, multi-lingual marketers holding binders of tour pamphlets. Or, you can ask any hotel, hostel, or tourist agency for information.
The advantages of taking a group tour:
- It may be the most cost-efficient way to see a lot of different sites outside of Oaxaca City, depending on the tour you take.
- You can socialize with other travelers, nap, or do (almost) anything you want while someone else does the driving, navigating, and planning.
The disadvantages of taking a group tour:
- You have no flexibility in timing. You come and go with the tour group.
- Depending on how many stops are on the tour, you may have as little as 30 minutes to see this big place. Communicate with the tour leaders, so you’re not left behind.
Taking Public Transportation
Taking public transportation from Oaxaca City to Hierve el Agua is a two-step process:
First, from Oaxaca City to the nearby town of Mitla: Catch a colectivo (a red-and-white sedan) from the northeast side of the Estadio Eduardo Vasconcelos baseball stadium in Oaxaca City. “Mitla” will be written very clearly on the front dash. Cost pp: ~30 MXN (Another option is to do this leg the day before and to stay in Mitla overnight, a destination in its own right.)
Next, from Mitla to Hierve el Agua: Catch a camioneta (truck) from the “La Cuchilla” transport hub in Mitla. Again, “Hierve el Agua” will be clearly posted. There are usually some spots in the front, or you can sit in the back of the covered bed of the pick-up truck. Cost pp: ~50 MXN.
For the return trip, you will have no problem getting transportation at the entrance/exit of Hierve el Agua. They are readily available.
The advantages of taking public transportation:
- It may be the most inexpensive way to get to Hierve el Agua, while still having time freedom.
- It’s an adventure and an experience, riding in the back of a pick-up truck over bumpy dirt roads, deep in the mountains of Mexico.
The disadvantages of taking public transportation:
- Taking public transportation in Mexico always requires a bit of patience. You’ll have to give up any notion of arriving early, and often you’ll have to wait until the driver can wrangle enough passengers.
- Depending on your Spanish skills and perspective of what constitutes a “stressful situation,” you may find public transportation not worth the extra hassle. For what it’s worth, this is a well-tread tourist path that should be very easy to navigate.
What to Bring to Hierve el Agua
Depending on the time of year and what you want to do, consider bringing the following:
- Bathing suit & towel – sorry, nude bathing is not really a thing in Mexico, and certainly not in the traditional Oaxacan backcountry.
- Water shoes – the floors of the pools can be uneven and slick.
- Sunscreen – if you plan on swimming, it’s requested not to apply sunscreen before getting into the pools. You can apply it after your swim, before your hike, or they have showers where you can rinse off your sunscreen before getting in.
- Hat & sunglasses – protect your face, ears, and eyes from the sun, especially in this high-altitude. You’re much closer to the equator than you are probably used to.
- Hiking or walking shoes – some parts of the trail may be slick and wet, and other parts have loose gravel and rock. I recommend shoes with good grip if you want to take the entire loop.
- Jacket – it can get very windy here very quickly.
- Money – for entrance fees, meals, beverages, or snacks.
VanLife in Hierve el Agua
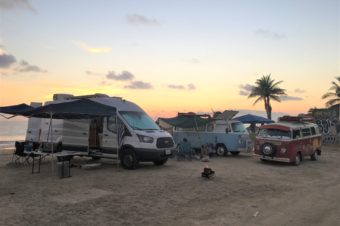
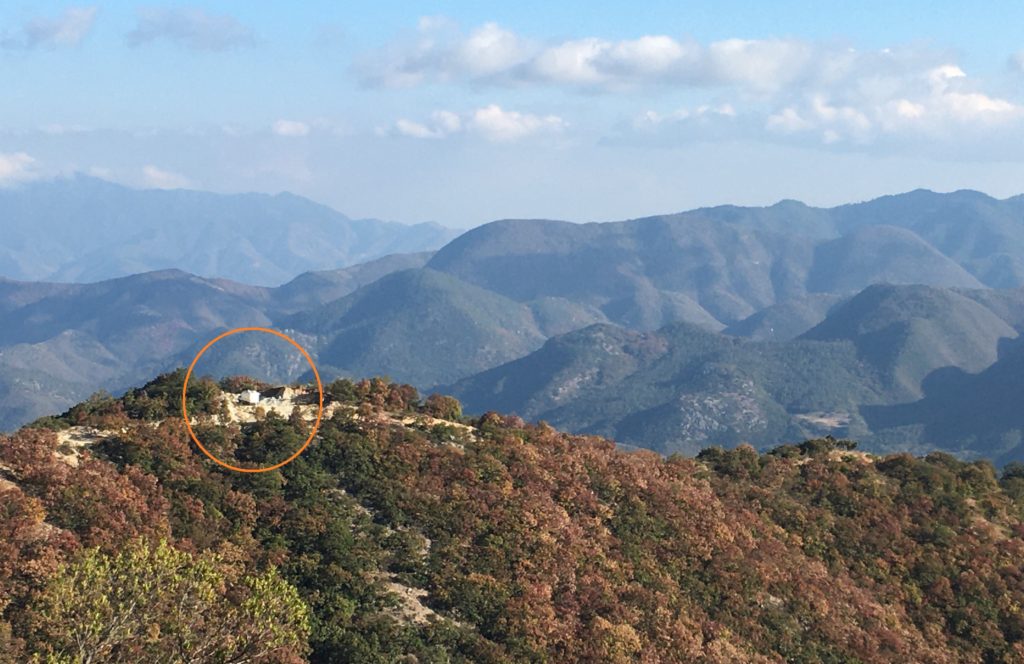
Between Oaxaca City and San Jose del Pacifico, we decided to take a detour to visit the Tlacolula Sunday Market and Hierve el Agua. We boondocked in our van for two days in Tlacolula and 5 days by Hierve el Agua.
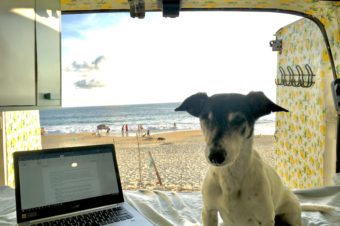
DangGoodLife Note: If you’re unfamiliar with vanlife and our DangGoodLife story, here’s the short version: My husband, dog, and I have been driving through Mexico in our 2015 Ford Transit high-roof van. We converted this van into our casa rodante (rolling home) with our own two hands, so it has everything we need to live comfortably on the road. We share our travels through DangGoodLife to help others plan their overland journeys through Mexico.
Where We Stayed in Hierve el Agua
We only intended to stay in Hierve el Agua for the night, but we loved our boondocking site so much that we stayed for 5 days!
We found the boondocking site on iOverlander, an excellent resource for overland travelers around the world. The bumpy dirt road heading up to the site was less than fun, but it was totally worth it once we got settled.
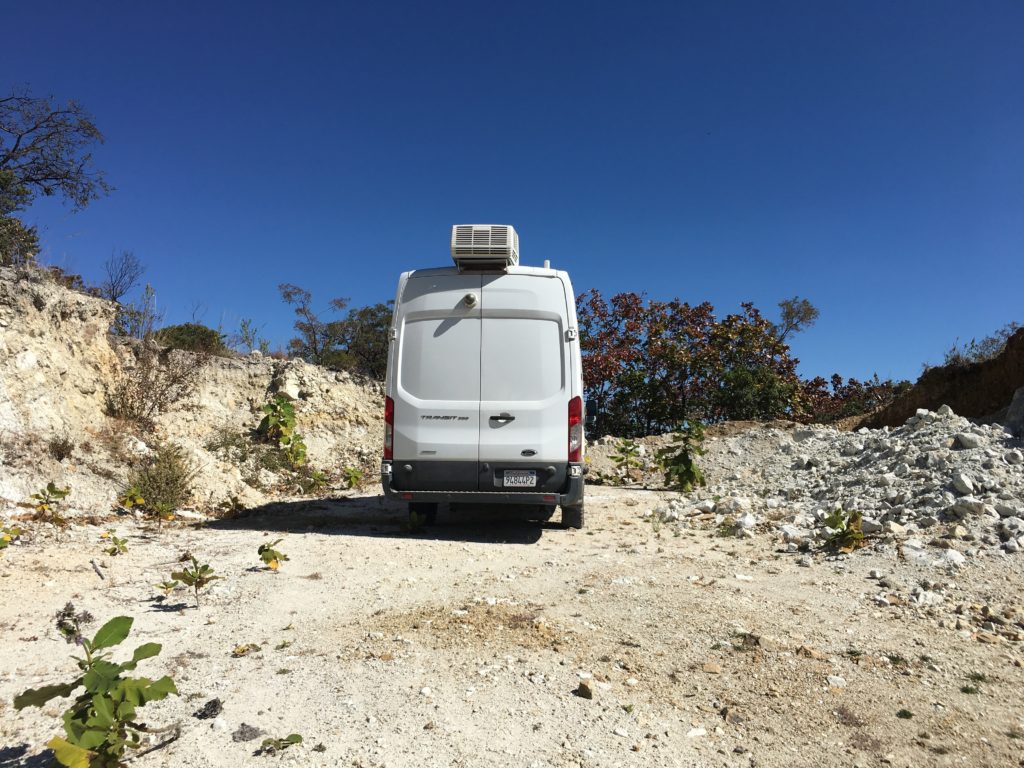
This parking spot is largely blocked off to the world, giving us the privacy to use our solar shower, walk around in our underwear, and open our doors to the fresh air without being covered in vehicle exhaust fumes or, worse, tons of bugs! Our dog enjoyed two-hour, twice-daily hikes along the dirt roads, and we relished the beautiful mountain views and starry night skies. We got full sun to charge our solar panels, but the strong winds (and also December temperatures) kept us cool and downright cold sometimes (tenting is not something I’d recommend up here). After months of vanlife, we knew to be grateful for all of these benefits!
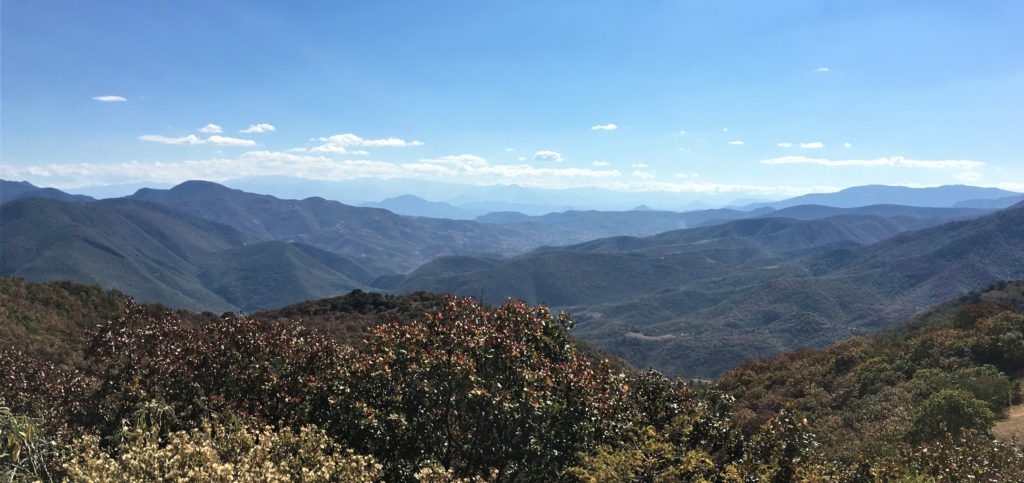
After spending a few nights up here, I had a feeling that we were on private, neglected property. My suspicions were confirmed when a gentleman stopped by to tell us that this was his land. He asked 40 pesos a night, which we readily agreed to. This site was worth ~$2 USD a day, absolutely!
The Drive for a Van
We have a Ford Transit 250 van with 2 wheel-drive and normal ground clearance. We splurged for all-terrain tires and suspension upgrades to adjust for our 9,000+ lbs. gross vehicle weight. We made it up the mountain fine, albeit slowly.
The turnoff from the main road is the most difficult section. It’s even generous to call it a road. I wouldn’t recommend it for vehicles longer than ~27 feet.
One downside to this site is that it’s only suitable for one van or perhaps two small cars. You can only hope your plans don’t overlap with someone else’s.
Replenishing Supplies in Hierve el Agua
If you need to replenish your supplies, the main dirt road has a couple of businesses. It’s a 30-minute walk down the hill/mountain to the main street.
Water: We came to Hierve el Agua with four 7-gallon tanks of water for everything: drinking, dishwashing, showering, etc. You can find water at nearly any business.
Groceries: After some wandering, we found a kind woman who sells groceries from her back patio. She had fruits like bananas, oranges, grapefruits, starfruits, avocados, and apples, and vegetables like potatoes, carrots, lettuce, tomatoes, and chilies. She also sold chicken, which we happily barbecued back at the van.
Misc: Along the main street, a few little restaurants and stores sell prepared meals, beers, mezcal, and some household items.
Gas: I don’t remember seeing any gas stations, so be sure to fill up in Mitla before heading over.
Cash: The closest ATM appears to be in Mitla, near the town center.
Walking Down to Hierve el Agua
We chose to walk down to Hierve el Agua from our boondocking spot, instead of driving the van, for two reasons:
- We didn’t want to drive down and back up the mountain again – too much work and van wear and tear!
- We didn’t want to pay for parking at Hierve el Agua. It’s 150 MXN per camioneta, which is quite disproportionate to the 25 MXN pp entrance fee.
The walk is about 45 minutes each way. If you want to do the Hierve el Agua loop hike too, you’re signing up for more than 3 hours of walking/hiking.
Parking Overnight at Hierve el Agua
If you don’t want to boondock up the mountain, or you don’t want to walk 45 minutes down to Hierve el Agua, you have the option of parking in the Hierve el Agua lot. The dirt parking lot is large and flat, and you have access to bathrooms and showers. Dogs are not allowed into the site, but they can hang out in the parking lot.
The cost for parking is 150 pesos per vehicle, whether you stay just for your visit or overnight. Plus, you have to pay 50 pesos per person for overnighting, and 25 pesos per person to visit Hierve el Agua.
I hope this helps you to prepare for VanLife in Hierve el Agua!
If you have any questions or comments, feel free to contact us at hello@DangGoodLife.com. If this article has helped you to plan your own adventure in Hierve el Agua, please consider supporting us by shopping through our affiliate links, sharing this post, and engaging with us on our social media channels. Your support helps us keep gas in the van so that we can continue to provide this Dang Good content.
With sincere gratitude,
Lien & Jon
